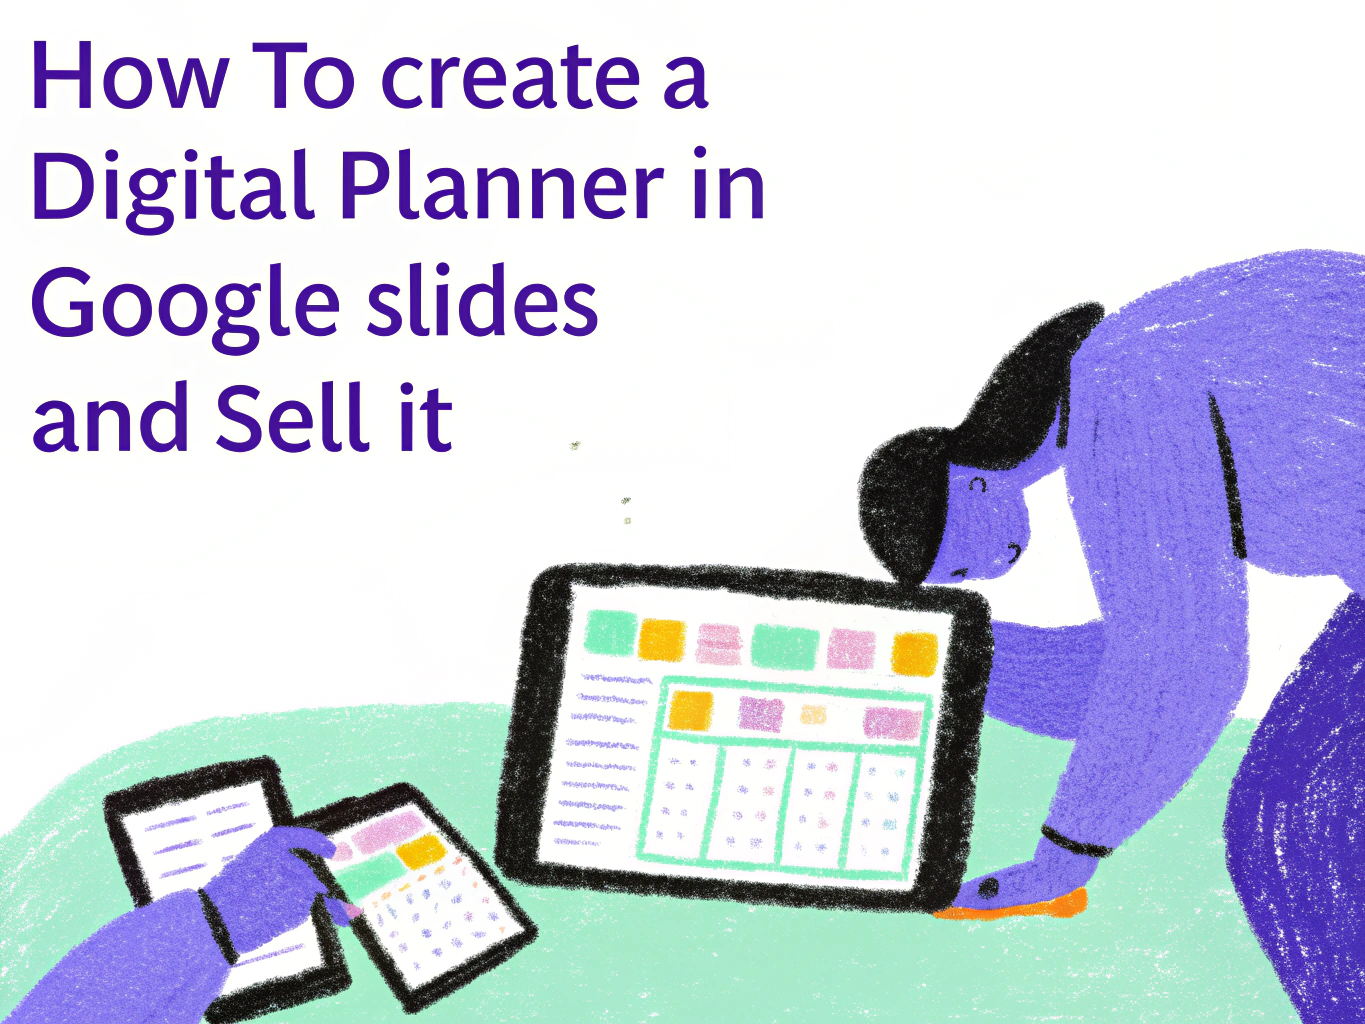
How to Create a Digital Planner in Google Slides and Sell It
Digital planners are one of the best selling digital products on Etsy right now and the market is genuinely growing. The diary and planner market is on track to reach $1.3 billion by 2028, and a large chunk of that demand is coming from people who want beautiful, interactive planners they can use on their iPad or tablet with apps like GoodNotes and Notability.
The good news for new sellers is that you don’t need expensive software to build one. The entire process can be done using Canva and Google Slides, both of which are completely free. This guide walks you through exactly how to do it from start to finish and what it takes to sell it successfully.
What a Digital Planner Actually Is
Before building one it helps to understand what buyers are expecting when they purchase a digital planner.
A digital planner is an interactive PDF file that buyers open on their tablet in a PDF annotation app like GoodNotes, Notability, Noteshelf, or Xodo. Instead of flipping through physical pages, buyers tap hyperlinks to navigate between sections. Instead of writing with a pen, they use a stylus like an Apple Pencil.
The hyperlinks are what make it a digital planner rather than just a pretty PDF. Without them, the buyer has to scroll through every page to find what they need, which defeats the purpose entirely. Every page in your planner needs clickable tabs or buttons that jump directly to other sections. This is the single most important technical requirement and the step most beginner tutorials skip over too quickly.
Step 1: Choose Your Niche and Plan Your Pages
The biggest mistake new digital planner sellers make is building a generic planner and hoping it sells. Looking at what’s actually moving on Etsy right now, the planners generating consistent sales are deeply specific and loaded with value.
Start by researching what’s selling. Search for digital planner on Etsy and look at the listings with the most reviews. You’ll notice that the top sellers are not offering simple monthly calendars. They are offering complete life management systems with dozens of specialized templates bundled together.
Common page types that top sellers include are a cover page, a yearly overview, monthly calendar pages, weekly layout pages, daily pages, habit trackers, budget trackers, meal planning pages, fitness trackers, goal setting pages, notes pages, and a home dashboard that links to every section.
The more complete your planner feels for a specific type of person the better it will sell. A planner for students, a planner for small business owners, a wellness and self-care planner, a teacher planner, or an ADHD-friendly planner are all specific enough to attract a clear buyer and differentiated enough to stand out from generic options.
Step 2: Set Up Your Canvas Size in Canva
Open Canva and create a new design with custom dimensions. For an iPad planner the standard size is 2388 x 1668 pixels for landscape orientation or 1668 x 2388 pixels for portrait. Most buyers prefer portrait orientation but including both in your product is a strong selling point that top Etsy sellers use consistently.
If you are designing for standard paper sizing instead, set your canvas to 8.5 x 11 inches for US Letter or A4 for international buyers.
Design all your planner pages in Canva. Create your cover page first, then build out each section. Use Canva’s duplicate page feature to replicate layouts instead of rebuilding them from scratch. For example, once you have your weekly layout designed, duplicate it and change the date or heading for each week of the year.
Keep your design clean and readable. Buyers are going to be writing notes on top of these pages with a stylus so cluttered layouts and overly decorative backgrounds make the planner genuinely harder to use. The planners that get five-star reviews balance aesthetics with functionality.
Step 3: Export Your Pages as PNG Files
Once all your pages are designed in Canva, export them as PNG files. In Canva, click Share, then Download, and choose PNG as the format. Download all pages.
The reason you export as PNG rather than PDF at this stage is that you are going to use these pages as background images in Google Slides. Google Slides is where you add the interactive hyperlinks that make your planner functional.
Step 4: Build Your Planner in Google Slides
Open Google Slides and create a new presentation. Go to File, then Page Setup, then Custom, and set the dimensions to match your Canva canvas size. This ensures your PNG backgrounds fit perfectly without any white borders or scaling issues.
Now import your PNG files one by one as slide backgrounds. Right-click on each slide in the sidebar, select Change Background, and upload your PNG. Work through every page in order until all your designs are in place as slide backgrounds.
At this stage your planner looks exactly like it did in Canva but it is now inside Google Slides where you can add interactive elements on top of the background images.
Step 5: Create Your Navigation Tabs and Hyperlinks
This is the most important step and the one that separates a functional planner from a pretty PDF that nobody wants to use.
Look at your cover page or home dashboard. You need to add clickable shapes or buttons that jump to specific pages in the planner. To do this, insert a shape or text box over the area you want to be clickable. Then right-click on it, select Link, and choose which slide you want that click to take the buyer to.
For your monthly tabs, link each month button to the corresponding monthly page. For your section tabs, link each tab to the first page of that section. For your navigation arrows at the bottom of pages, link the forward arrow to the next slide and the back arrow to the previous slide.
One critical detail that most beginner guides miss — always link to the specific slide number rather than selecting “Next Slide.” If you use “Next Slide” and the buyer inserts additional pages later, every link below that insertion breaks. Specific slide numbers keep every link permanently accurate.
Make every tab link consistent across every page. If your monthly tabs appear on every page, every instance of every tab needs its own hyperlink pointing to the right slide. This is time consuming but it is what makes a planner feel professional and seamless to use.
Test every single link before you export. Go into Presentation Mode in Google Slides and click through every tab and button to confirm they all go where they should.
Step 6: Export as PDF
Once all your hyperlinks are tested and working, export your planner as a PDF. Go to File, then Download, then PDF Document. Google Slides will create a PDF that preserves all your embedded hyperlinks.
This final PDF is your product. When a buyer downloads it and opens it in GoodNotes or Notability, all the hyperlinks work exactly the way they did in Presentation Mode. They can tap any tab to jump directly to that section and use their stylus to write on every page.
One important note — hyperlinks do not work in the Android version of GoodNotes, in OneNote, on Remarkable devices, or on Kindle Fire tablets. Include this compatibility information clearly in your listing to avoid confused buyers and negative reviews.
Step 7: Decide What to Include in Your Bundle
Looking at what the top selling planners on Etsy actually offer, a simple single planner is harder to sell than a complete bundle. The listings generating thousands of reviews consistently include both a dated version for the current year and an undated version that buyers can reuse indefinitely. Undated planners are particularly valuable because they have no expiration and keep selling long after the year ends.
Beyond the planner itself, top sellers boost their perceived value by including portrait and landscape orientations, a set of digital stickers as PNG files, multiple cover design options, and a short tutorial video or written instructions for how to import and use the planner.
Including a tutorial is something most beginner sellers skip but it significantly reduces customer service messages from buyers who are new to digital planning and don’t know how to get the file into GoodNotes.
Step 8: Create Mockup Images That Show the Planner in Use
Your mockup images are your entire storefront for this product. Buyers cannot open and browse your planner before purchasing so your images have to do the selling.
Use device mockup templates in Canva to show your planner displayed on an iPad screen. Show the cover page on one image. Show interior pages like the weekly layout and the habit tracker on others. Show what it looks like with handwritten notes added using a stylus if you can. Show the tab navigation to communicate that it is fully hyperlinked and interactive.
The planners generating the most sales on Etsy show the planner looking genuinely used and beautiful at the same time. That combination of professional design and real-world usability is what converts browsers into buyers.
Step 9: Price Your Digital Planner
Pricing digital planners follows the same bundled value logic as other digital products but with a higher ceiling than most Canva templates because buyers perceive digital planners as a more complete and sophisticated product.
A simple monthly planner with basic hyperlinking can start at $5 to $9. A full yearly planner with daily and weekly pages and basic extras sells well at $12 to $18. A comprehensive bundle with dated and undated versions, stickers, multiple covers, and tutorials — which is what the top selling listings offer — commands $18 to $35 comfortably and sometimes significantly more.
Always include both a dated and undated version if you can because undated planners dramatically extend the lifespan of your listing without requiring you to create an entirely new product each year.
Step 10: List Your Planner on Etsy
Your listing title should lead with the keyword phrase buyers are actually searching for. Titles like “Digital Planner 2026 GoodNotes iPad Hyperlinked Weekly and Daily Planner” match exactly what buyers type into Etsy search.
In your description, be specific about what is included, what apps it is compatible with, and what apps and devices it does not work with. Compatibility disclaimers upfront prevent the most common negative reviews new sellers receive.
Use all 13 Etsy tags and mix broad terms like “digital planner” and “GoodNotes planner” with specific phrases like “iPad planner 2026,” “hyperlinked digital journal,” and “undated digital planner.”
Upload your PDF as the digital download file. Buyers receive it automatically after purchase and can import it directly into their annotation app of choice.
Frequently Asked Questions
Do buyers need an iPad to use a digital planner?
Mostly yes. Digital planners are primarily designed for use on tablets with a stylus. They work best on iPad with GoodNotes or Notability and on Android tablets with apps like Noteshelf or Xodo. They technically open on laptops and desktops as PDFs but the experience without a touchscreen and stylus is limited. Make this clear in your listing so buyers know what they are purchasing before they check out.
Does Canva free work for creating digital planners to sell?
Yes. You can design every page of your planner using a free Canva account. Stick to free fonts and free Canva elements throughout your design. If you use Pro elements, buyers with free accounts may see substituted fonts or inaccessible graphics when they try to customize covers, which creates support issues.
How many pages should my digital planner have?
There is no minimum but looking at what sells consistently, more pages equals higher perceived value up to a point. A planner with a cover, 12 monthly pages, 52 weekly pages, and 10 to 15 specialty template pages feels complete. Top sellers include significantly more but starting with a focused, well-designed planner of 80 to 120 pages is a realistic goal for a first product.
Should I make a dated or undated planner?
Include both if you can. Dated planners sell well when listed before the new year and during the first few months of the year. Undated planners sell consistently all year round because they work regardless of when someone purchases. Most successful shops offer both versions together in the same listing as a bundle, which is the approach the top Etsy sellers use.
Final Thoughts
Creating a digital planner in Google Slides is genuinely beginner-friendly once you understand the process. The design happens in Canva, the hyperlinking happens in Google Slides, and the final PDF is what your buyer downloads and uses on their tablet.
The sellers building real income from digital planners are not necessarily the best designers in the room. They are the ones who understand what buyers actually want, a complete, functional, beautiful planning system and deliver that clearly and consistently.
Build something you would genuinely want to use yourself. Make the hyperlinks work perfectly. Present it with quality mockups. Price it confidently. That is the formula that works and it is completely within reach for anyone willing to put in the time to do it right.
- 25+ Profitable Print on Demand Products to Sell - March 31, 2026
- 20+ Low Risk Print on Demand Products - March 31, 2026
- 24+ Beginner Friendly Print on Demand Business Ideas - March 31, 2026